
VirtualBox: Creating a Virtual Machine
Have you ever wanted to test a new operating system without worrying about damaging the existing system on your computer? If you’re reading this, you probably are. Virtualbox is a program that allows you to run virtual machines with your own operating system. Actions performed on such a machine are isolated from the computer’s operating system. This makes it possible, for example, to test software without the risk of damaging the system installed directly on the computer.
Virtualbox is available for download from the project wiki for platforms based on Windows, OS X, Linux and Solaris, in the case of Linux we can also use the repositories of our distribution. Installation is standard under each of the supported operating systems.
Virtual machine configuration
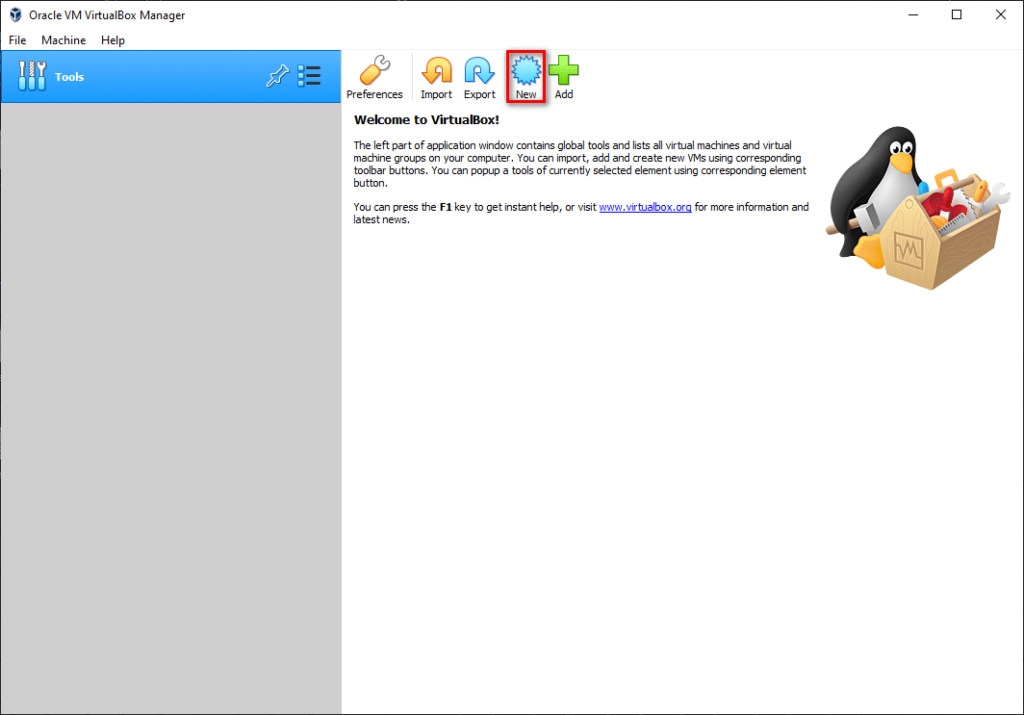
After starting, the program interface appears, depending on the version, it may be in Polish or English. Sometimes it happens that the program interface is only partially in Polish. To create a new virtual machine, click the New button.
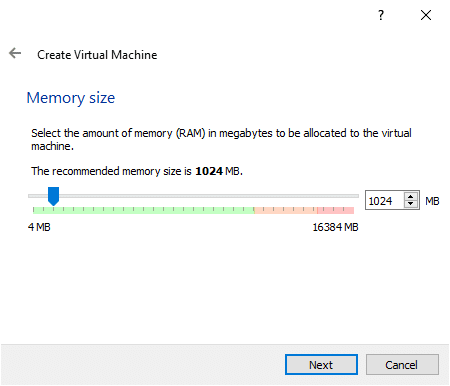
Enter the name of the new machine, it can be anything you like, I will use Debian. At this point, the program should associate further options appropriate to the system name. If it did not recognize the system by name or we named it differently, we must select the type and version. In my case it will be: Linux and Debian, respectively, the next step will be to allocate RAM to the machine, by default 1024 MB RAM is proposed. You can modify the RAM size settings at any time.
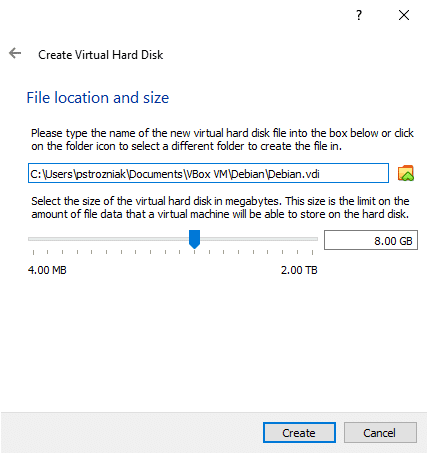
The next step will be to create a new virtual hard disk, by default the option to create a new media is selected, click the Create button. Then we leave the default option with the virtual disk image type and select Next. You can choose to have the disk expand dynamically as it fills up, or choose a disk with a fixed size independent of its contents. Similarly to configuring RAM, you can choose the size of the hard drive on which you will install the operating system.
Once you click Create, you will have completed creating your new machine. Now you can configure additional options. To do this, select the virtual machine in the left part of the program window and click the Settings button. Go to the System tab (in the left menu). Here you can, for example, change the available RAM or change other configuration parameters. In the Processor tab, you can allocate the appropriate number of cores and specify the maximum percentage of use of the allocated processor resources. For computers that do not support hardware acceleration (Intel VT-x, AMD-V), some options may not be available.

Installing the operating system
The last thing you will need is an installation image of the selected operating system, e.g. in ISO format. You can connect the system image in the Storage menu. Click on an available blank device and select the appropriate image or use the optical drive of your physical computer by pressing the disc button on the right.
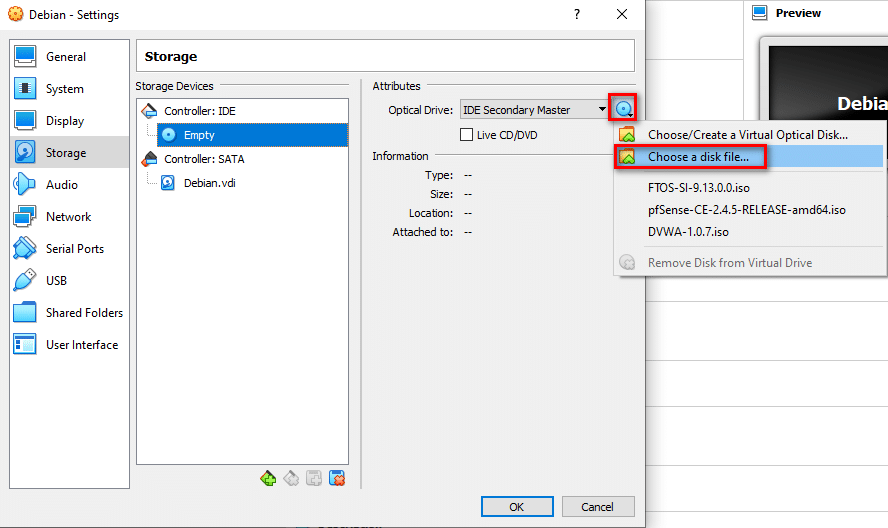
Once you have selected your image, click OK and your new virtual machine is ready to install the operating system. To do this, just start the machine. The entire installation process will be no different from that on a physical computer.
In these few steps, I showed you how to prepare a virtual machine for installing the operating system. If you have any questions, feel free to ask them in the comments